
22, Dec 2023
Navigating The Infernal Depths: A Comprehensive Walkthrough Of DOOM 2’s "Industrial Zone" (Map 9)
Navigating the Infernal Depths: A Comprehensive Walkthrough of DOOM 2’s "Industrial Zone" (Map 9)
Related Articles: Navigating the Infernal Depths: A Comprehensive Walkthrough of DOOM 2’s "Industrial Zone" (Map 9)
Introduction
In this auspicious occasion, we are delighted to delve into the intriguing topic related to Navigating the Infernal Depths: A Comprehensive Walkthrough of DOOM 2’s "Industrial Zone" (Map 9). Let’s weave interesting information and offer fresh perspectives to the readers.
Table of Content
Navigating the Infernal Depths: A Comprehensive Walkthrough of DOOM 2’s "Industrial Zone" (Map 9)
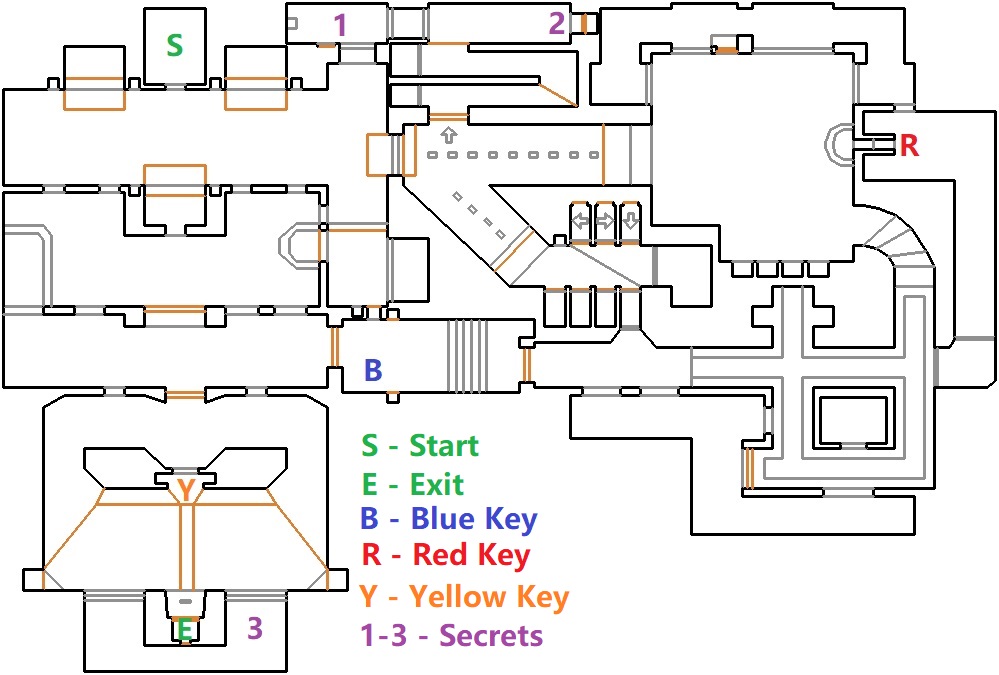
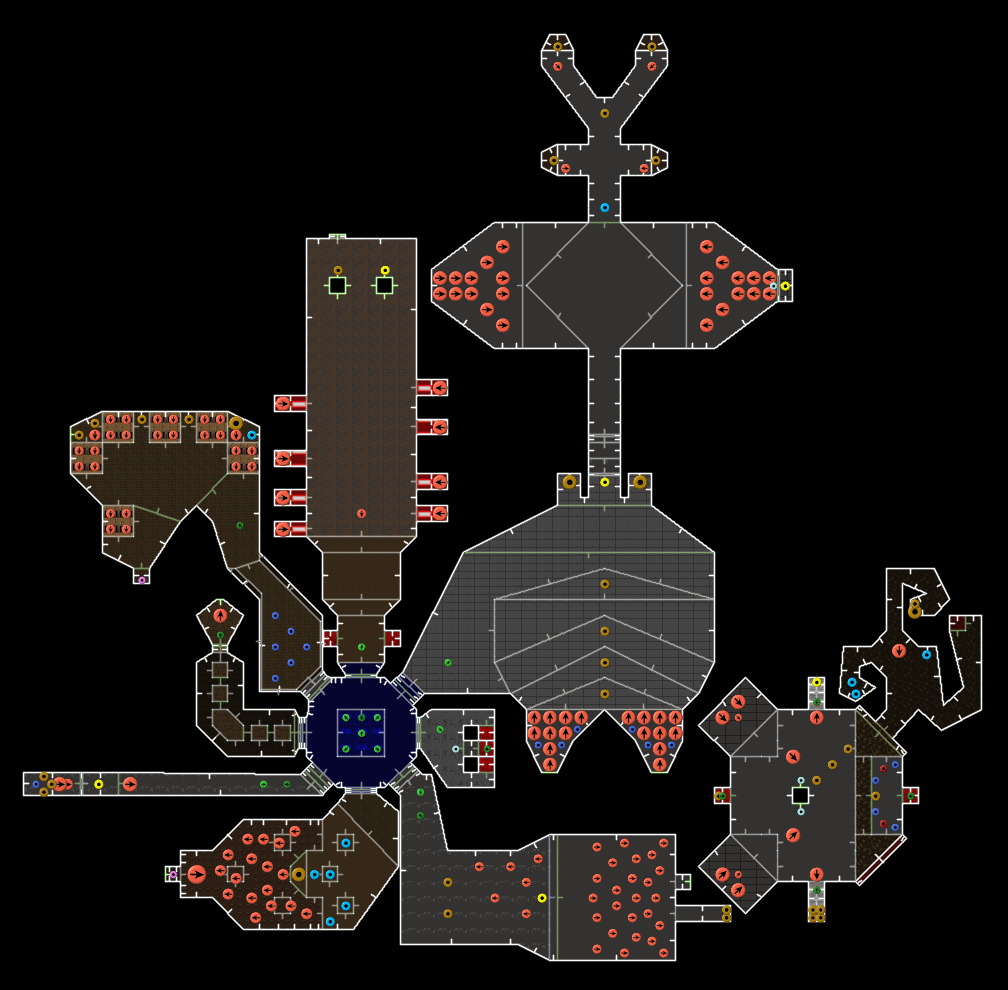
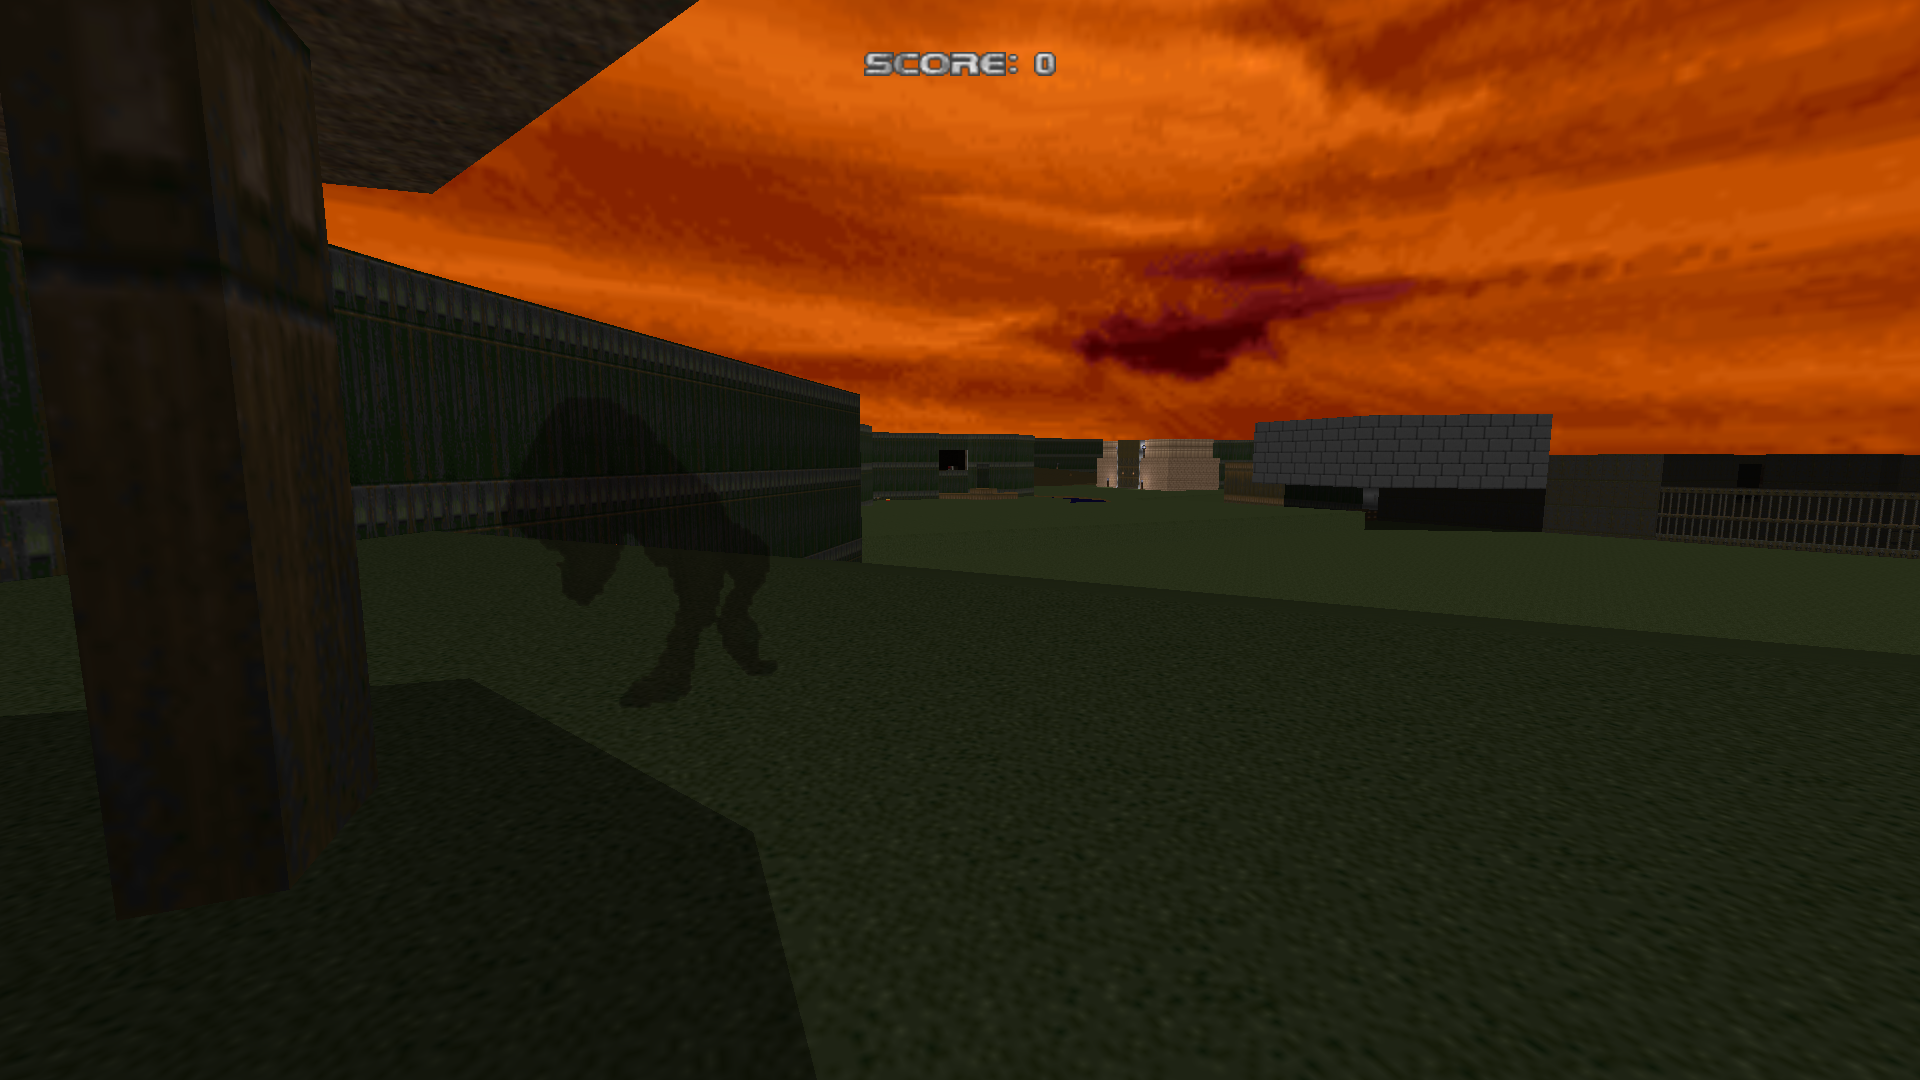
Doom 2’s ninth level, "Industrial Zone," presents a stark and challenging environment for the lone space marine. This level, characterized by its labyrinthine layout and relentless enemy encounters, demands meticulous planning and tactical execution. This walkthrough provides a detailed breakdown of the level’s layout, enemy encounters, and key strategies for survival.
The Industrial Zone: A Bleak Landscape of Brutality
The player enters the level through a gaping chasm in the ground, revealing a vast, industrial complex overrun by demonic forces. The level’s defining features include:
- Massive Industrial Structures: The level is dominated by towering structures, reminiscent of factories and power plants, their rusted metal skeletons now serving as demonic lairs.
- Interconnected Tunnels and Platforms: The level’s layout is intricate, with numerous tunnels, bridges, and platforms connecting different areas. This complex network creates opportunities for flanking maneuvers and strategic positioning.
- Vast Open Areas: The level features several large, open spaces that offer challenging engagements against multiple enemies.
- Hidden Secrets: The level is generously sprinkled with secret areas, offering valuable resources and power-ups.
Navigating the Industrial Maze: A Step-by-Step Guide
The Industrial Zone, despite its complexity, can be systematically navigated with a careful approach. Here’s a detailed walkthrough, highlighting key areas and strategies:
-
Initial Encounter: Upon entering the level, the player confronts a horde of Imps and a single Shotgun Guy. This initial encounter serves as a warm-up, allowing the player to familiarize themselves with the level’s weaponry and enemy types.
-
The First Key: Proceeding through the initial area, the player encounters a locked door. The key to unlock this door is found in a secret area accessed by destroying a wall in the nearby corridor. This secret area also contains a valuable Super Shotgun.
-
The Bridge and the First Encounter with the Baron of Hell: After unlocking the first door, the player traverses a bridge overlooking a large open area. This area is populated by numerous Imps and a single Baron of Hell, a powerful demon capable of inflicting heavy damage. The player must prioritize eliminating the Baron, using the bridge as cover and exploiting its vulnerability to rocket fire.
-
The Second Key: The second key is located in a room accessible through a narrow tunnel. This room is guarded by several Imps and a single Revenant, a fast-moving demon with a powerful rocket launcher. The player can utilize the room’s tight spaces to their advantage, flanking the enemies and using the rocket launcher’s ricochet effect to their benefit.
-
The Blue Key: The blue key is found in a room located in the level’s central area. This room is heavily guarded by multiple Imps, a single Hell Knight, and a single Revenant. The player must utilize the room’s various platforms and alcoves to create flanking opportunities and prioritize eliminating the more dangerous enemies.
-
The Yellow Key: The yellow key is located in a room accessed through a tunnel located near the blue key. This room is guarded by a single Hell Knight and multiple Imps. The player can use the room’s tight spaces to their advantage, utilizing close-range weaponry to take down the Hell Knight.
-
The Final Encounter: After obtaining all three keys, the player can access the final area of the level. This area is dominated by a large arena featuring numerous enemies, including multiple Barons of Hell, Hell Knights, and Revenants. The player must utilize the arena’s various platforms and alcoves to create flanking opportunities and prioritize eliminating the more dangerous enemies.
-
The Exit: Once all the enemies in the final arena are defeated, the player can access the level’s exit.
Key Strategies for Survival
- Strategic Positioning: The level’s intricate layout offers numerous opportunities for flanking maneuvers and strategic positioning. Utilize the tunnels, bridges, and platforms to gain an advantage over enemies.
- Weapon Selection: The level features a variety of enemy types, requiring different weapon strategies. Close-range weapons like the Shotgun and Chaingun are effective against Imps and Shotgun Guys, while the Rocket Launcher and Plasma Rifle are ideal for dealing with tougher enemies like Barons of Hell and Hell Knights.
- Resource Management: The level features numerous secret areas containing valuable resources like health, armor, and ammo. Prioritize exploring these areas to ensure adequate resources for the challenging encounters.
- Enemy Prioritization: Focus on eliminating the most dangerous enemies first, such as Barons of Hell and Hell Knights, before engaging with weaker enemies like Imps and Shotgun Guys.
Frequently Asked Questions
- How do I find the secret areas? The level features numerous hidden areas, often accessed by destroying walls or using specific switches. Look for suspicious areas with weak walls or unusual objects.
- What is the best weapon to use against Barons of Hell? The Rocket Launcher and Plasma Rifle are the most effective weapons against Barons of Hell, as they can inflict significant damage and penetrate their armor.
- How do I deal with Revenants? Revenants are fast-moving enemies with powerful rocket launchers. Utilize cover and flanking maneuvers to avoid their rockets, and focus on their vulnerable spots.
- Where can I find the BFG9000? The BFG9000 is not available on this level. It is found in a later level.
Tips for Success
- Utilize the level’s layout to your advantage: The level’s intricate network of tunnels and platforms offers numerous opportunities for flanking maneuvers and strategic positioning.
- Prioritize enemy elimination: Focus on eliminating the most dangerous enemies first, such as Barons of Hell and Hell Knights, before engaging with weaker enemies.
- Explore secret areas: The level features numerous secret areas containing valuable resources like health, armor, and ammo.
- Be aware of your surroundings: The level is filled with dangerous enemies and traps. Pay attention to your surroundings and avoid taking unnecessary risks.
Conclusion
Doom 2’s "Industrial Zone" is a challenging and rewarding level that tests the player’s skills and strategy. By carefully navigating the level’s complex layout, utilizing effective weapons, and prioritizing enemy elimination, players can overcome the demonic hordes and emerge victorious. This level serves as a testament to Doom 2’s unforgiving gameplay and its ability to deliver a truly immersive and exhilarating experience.


Closure
Thus, we hope this article has provided valuable insights into Navigating the Infernal Depths: A Comprehensive Walkthrough of DOOM 2’s "Industrial Zone" (Map 9). We thank you for taking the time to read this article. See you in our next article!
- 0
- By admin